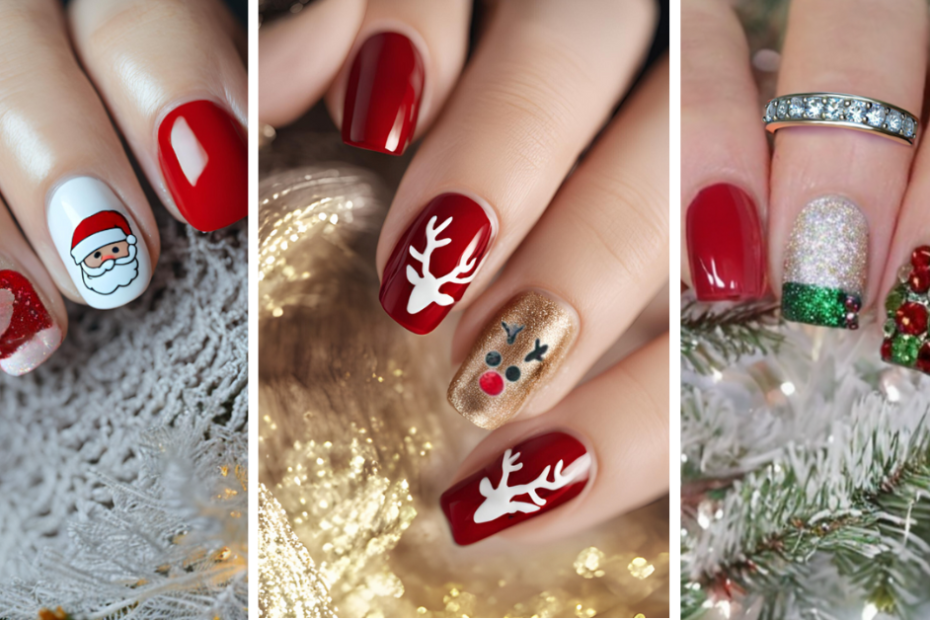
Get ready for the season of sparkle with DIY Christmas Nail Art. Allow your fingertips to shine with these festive inspired manicures. The tree won’t be the only thing that dazzles by the time you are finished recreating these looks on your talons.
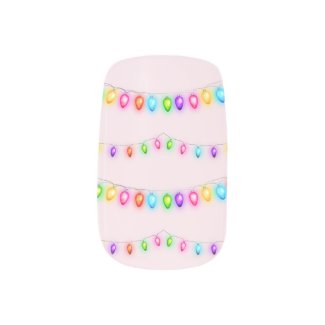
1. Christmas Lights
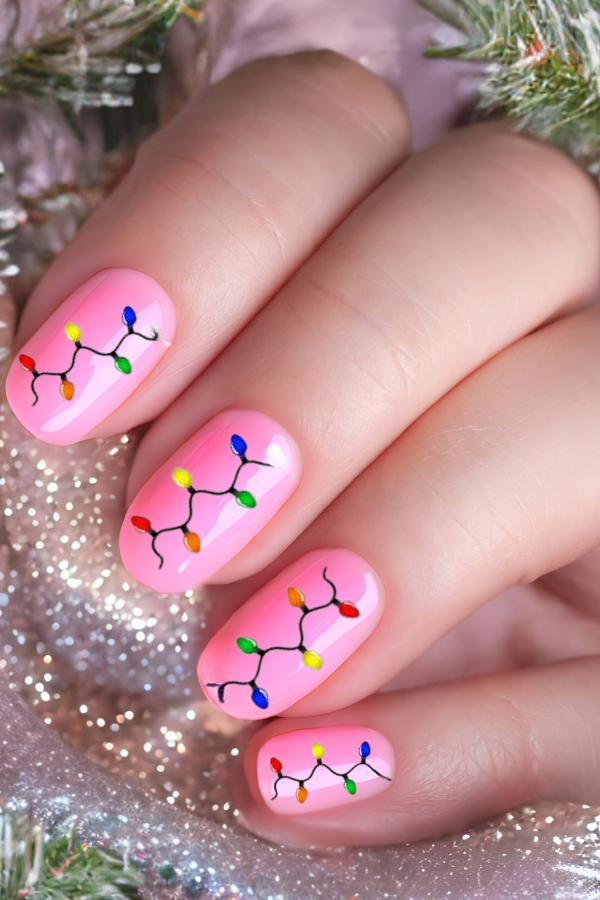
Make your nails the star of the show this magical light idea. You’ll need a base coat in pastel pink, a fine tip brush, some black acrylic paint and a top coat. These look great with a holiday jumper.
Directions
- First, paint your nails with a light color, such as pale pink or white.
- Next, use a toothpick with black polish to draw a curvy line on each nail.
- Fill in each bulb using red and green polish and any other colors you want to see in there.
- Once dry, add a clear top coat.
2. Candy Cane Striped Nails
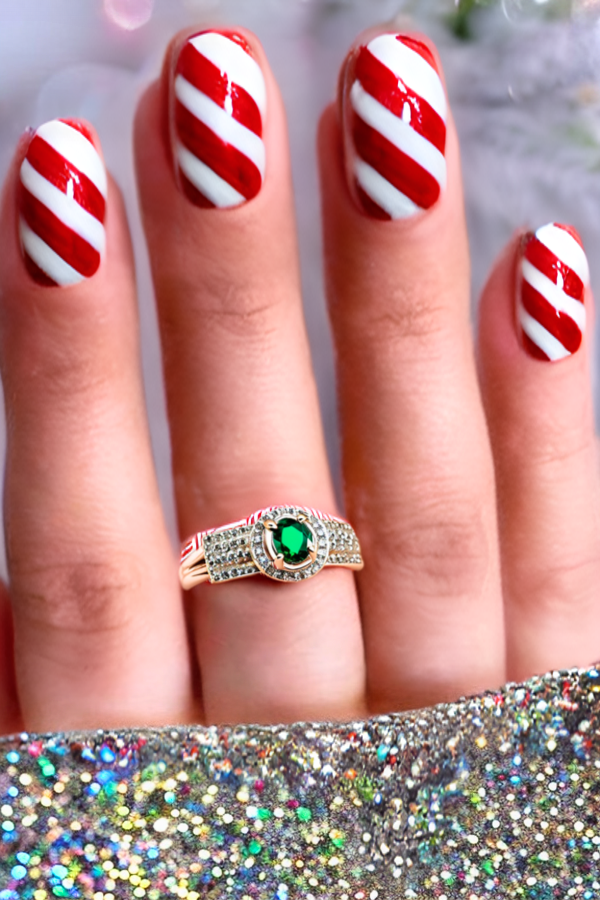
Take inspiration from a favorite Christmas treat that looks so cute on your nails. You’ll need some striping tape and a small brush as well as red and white nail polish to paint these Candy Cane Striped Nails.
Directions
- Start with a white base coat.
- Once dry, use nail tape or a thin brush to create diagonal red stripes across the nail.
- Alternate the thickness of the stripes for a more realistic candy cane effect.
- Finish with a shiny top coat for a glossy, sweet look.
3. Snowman Nail Art
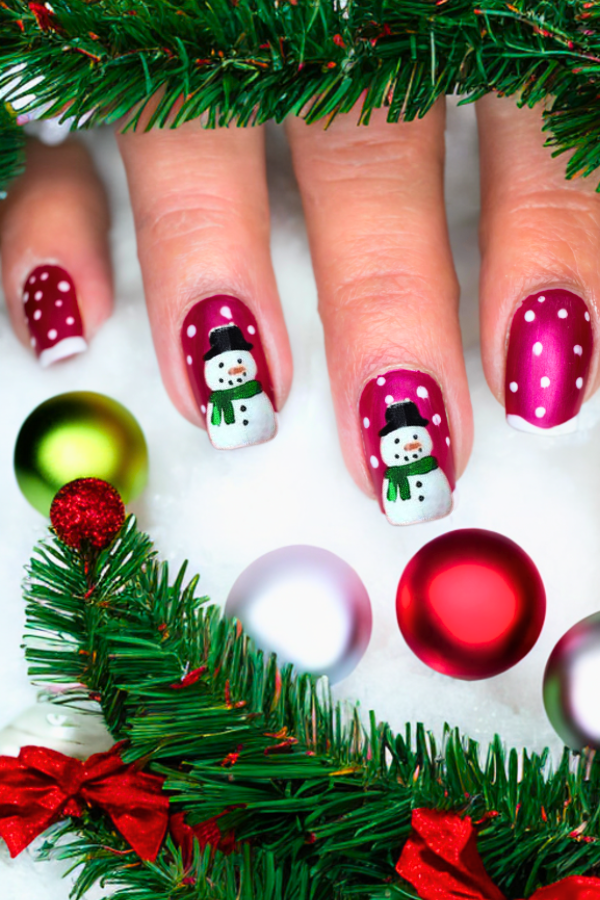
Paint an adorable snowman on your nails using a dotting tool and a fine tip brush for details.
Supplies: nail polish in shiny red, white, black, orange and green.
Directions
- First, paint your nails with shiny red polish.
- For a snowy look, use a white nail polish with a thin brush to create little snowy shapes on all your nails.
- Make the snowmen by creating two circles and use a black nail polish to make the snowman’s hat. Add a green scarf using a q-tip and green nail polish, and create the snowman’s buttons and eyes with black nail polish.
- Use an orange color for the snowman’s carrot nose. Finish with a top coat for a shiny look.
4. Rudolph
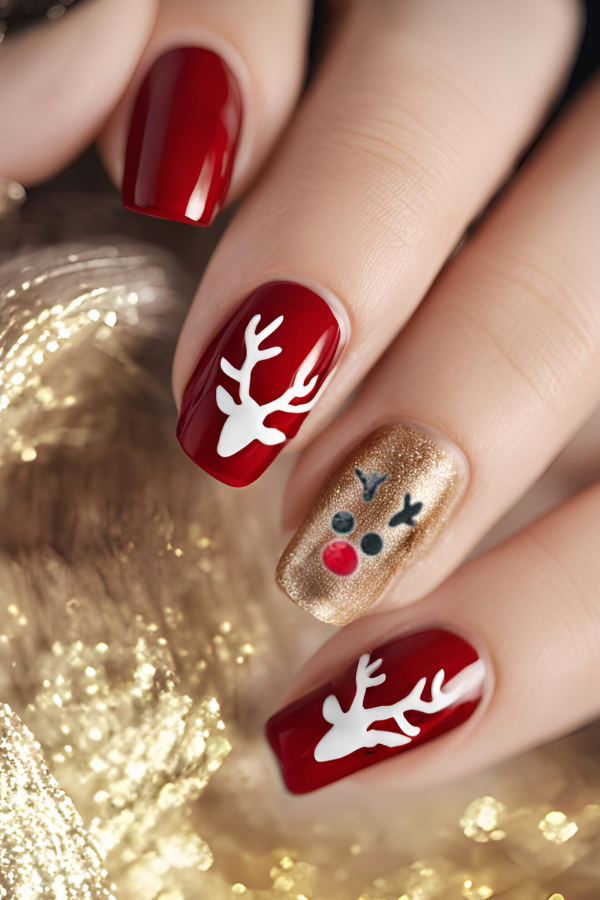
What really sets these nails apart is the gold feature nail with an adorable Rudolph face painted on it.
Supplies: Red, gold, black, and white polish, and a dotting tool.
Directions
- Start with a gold base coat on your accent nail.
- Use black polish to create two small antlers at the top of the nail.
- Draw two white dots for eyes and fill in the centers with black polish for pupils.
- For Rudolph’s nose, use your dotting tool to add a large red dot at the bottom of the nail.
- Complete with a top coat to seal the design.
- Pair this cute Rudolph design with solid red or gold nails for a cohesive holiday look and paint white antlers on the surrounding nails.
5. Santa Belt
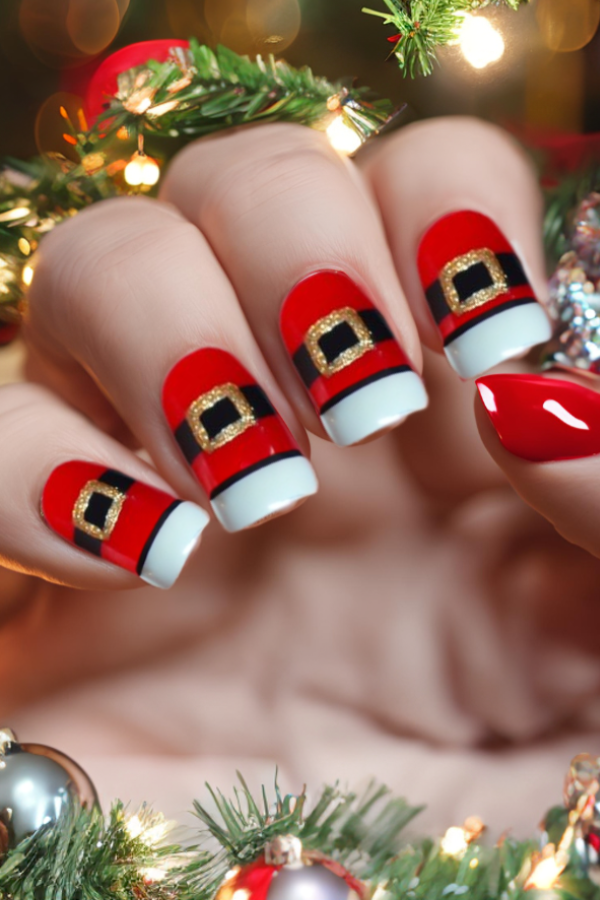
A sweet little nail design that is easy to pull off with just a few nail colors – white, black and red.
Supplies: Red, gold, black, and white polish, and a dotting tool.
Directions
- First, paint your nails with red polish.
- Then, use black polish to draw a line near the bottom of your nail.
- Finally, use gold polish to make a rectangle around the black line, creating a buckle for Santa’s belt.
6. Santa
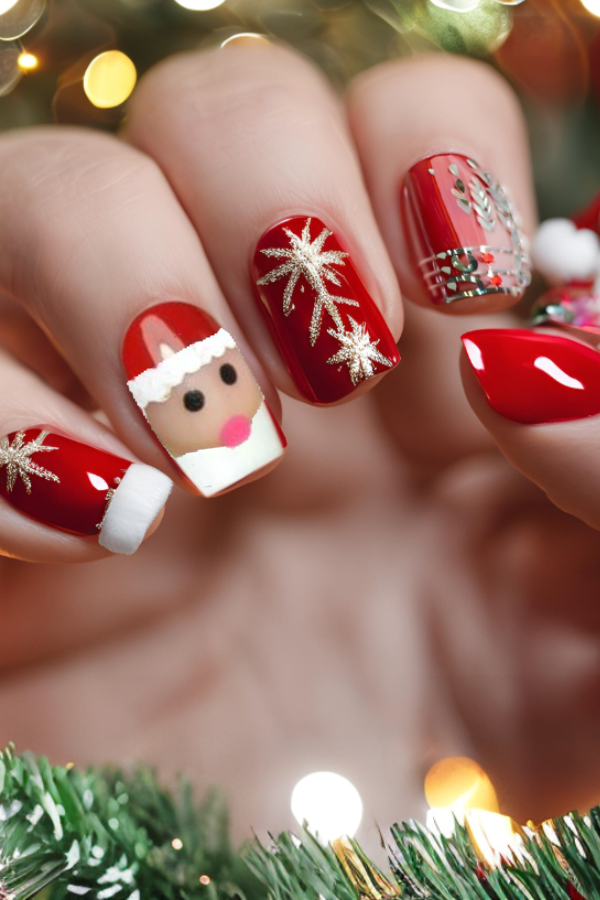
This is such a cute design to pop on your nails at your Christmas.
Supplies: Red, gold, black, and white polish, and a dotting tool.
Directions
- Paint your nails in a shiny red nail polish leaving the ring finger free for a Santa face.
- On the ring finger use red and white nail polish and dotting tools to Santa’s face.
- Use gold nail polish to paint snowflakes on the other nails.
7. Glittery Christmas Tree
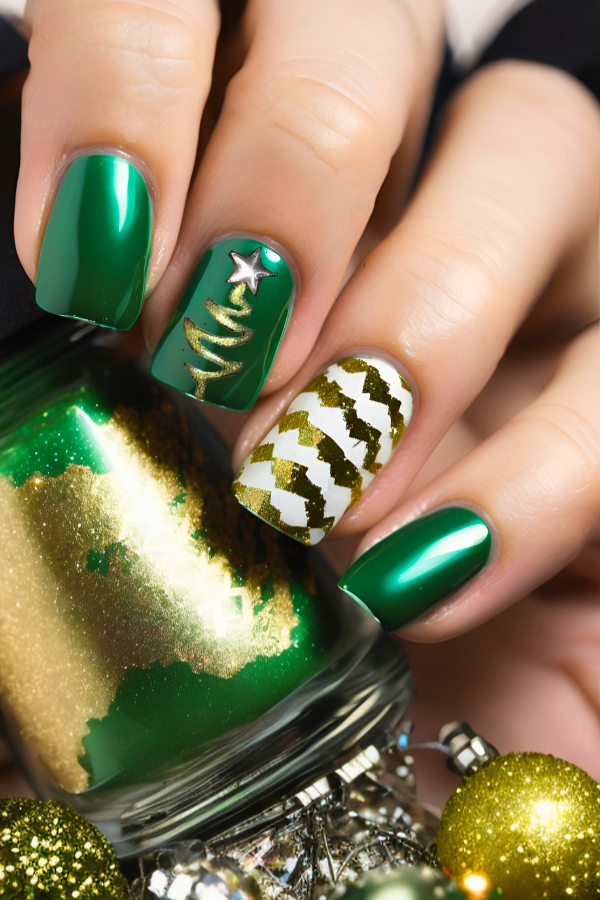
A glittery Christmas tree design is both festive and glamorous. It’s easy to do and looks impressive!
Supplies: Green nail polish, gold glitter polish, and a dotting tool.
Directions
- Paint a coat of green polish on your nails and allow to dry.
- Use the glitter polish to make a zigzag pattern from the bottom of your nail to the top, like tinsel or lights on a tree.
- Put a dot or star at the top of the tree.
- Seal with a clear top coat.
8. Santa Hat Accent Nail
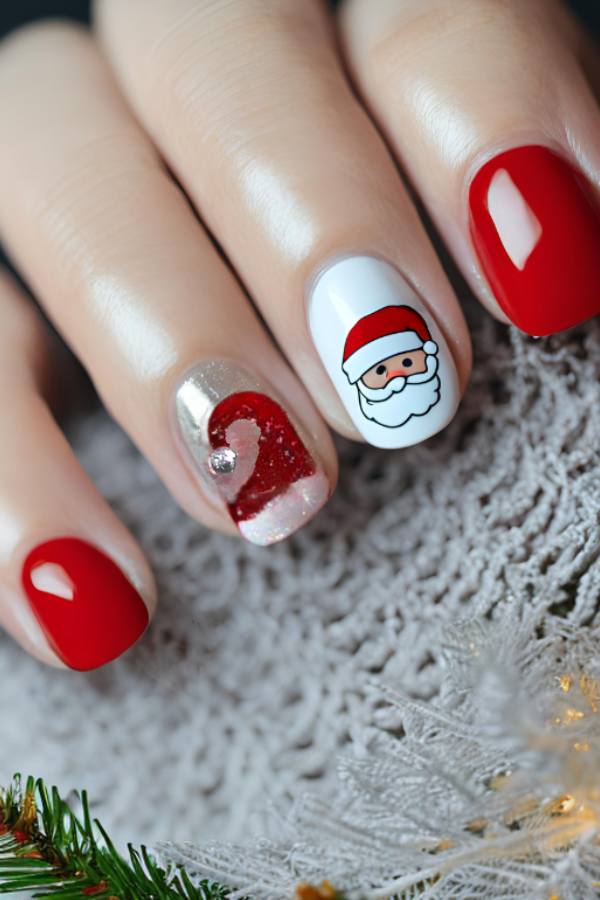
Santa hats are a classic holiday symbol and make for a charming accent nail design. Here’s how to do it:
Supplies: Red, white, and nude or light pink polish, dotting tool or toothpick.
Directions
- Paint your accent nail with a nude or light gold base coat.
- Use red polish to create Santa’s hat.
- With white polish and a dotting tool or toothpick, add a fluffy white trim along the bottom of the triangle and add a rhinestone.
9. Snowflake Sparkle
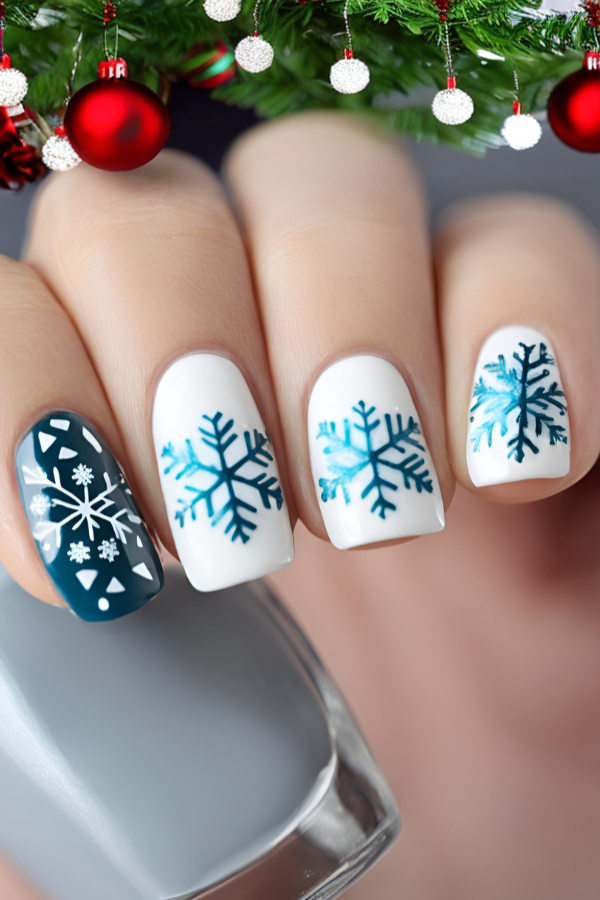
Nothing captures the winter wonderland vibe better than delicate snowflakes. You can create this look with a bit of patience and a steady hand.
Supplies: Light blue or white base coat, thin brush or toothpick, glitter polish.
Directions
- Begin with white base coat to.
- Dip a fine brush in blue sparkly polish to draw small snowflakes.
- You can freehand the lines or use a nail decal.
10. Festive Red & Green
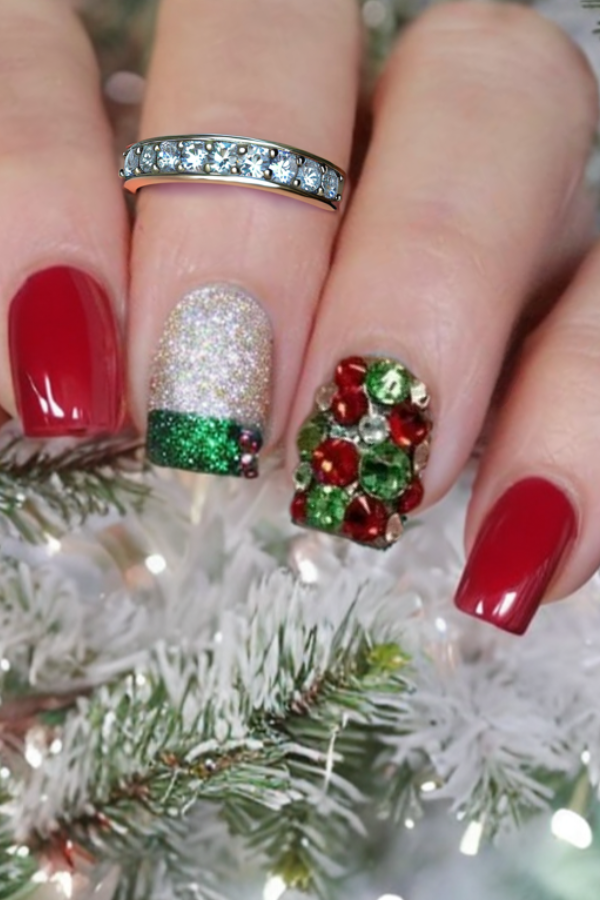
The traditional Christmas hues of red and green create the perfect festive look for your talons. Up the glamour by adding rhinestones for the parties you will be going to.
Printable Christmas Game
See Printable Secret Santa Bundle
